We use cookies to make your experience better. To comply with the new e-Privacy directive, we need to ask for your consent to set the cookies Learn more.
(Scroll Down for Installation Instructions)

Installing your watering system is easy. Once you have all of the components you need, grab a pair of scissors and get started!
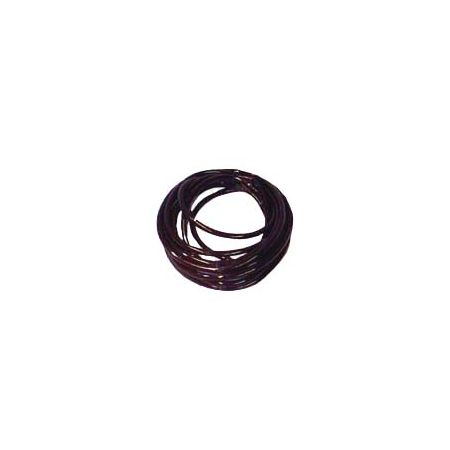
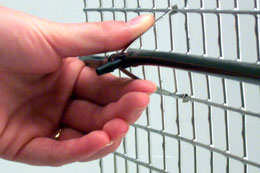
Step 1: Cut black tubing to appropriate length for cages and push the tubing into the Tee Barbed Fittings.


Step 2: Slide the barbed connection of the drinking valve through hole in the Valve Clip and squeeze clip onto the cage.


Step 3: Place drinking valve on the side of the cage where it will be easily accessible to your animal or bird. Attach supply line to cages with Stand-Offs
Step 4: Extend additional short length 3/16" Flex-Tubing from the bottom of the Tee Barbed Fitting down to the drinking valve.

Step 5: Place the Drain-Vent at the end of the line for flushing purposes.

Step 6: If a Shut-Off Valve is desired, it is pushed onto the Flex-Tubing at the beginning of the line to easily turn off water for individual rows.

Step 7: Connect start of the Flex-Tubing to water supply. If a storage or float tank is used, it should be placed 12-36" above the top row of cages to ensure adequate water pressure.


 United Kingdom


