We use cookies to make your experience better. To comply with the new e-Privacy directive, we need to ask for your consent to set the cookies Learn more.

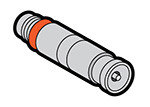
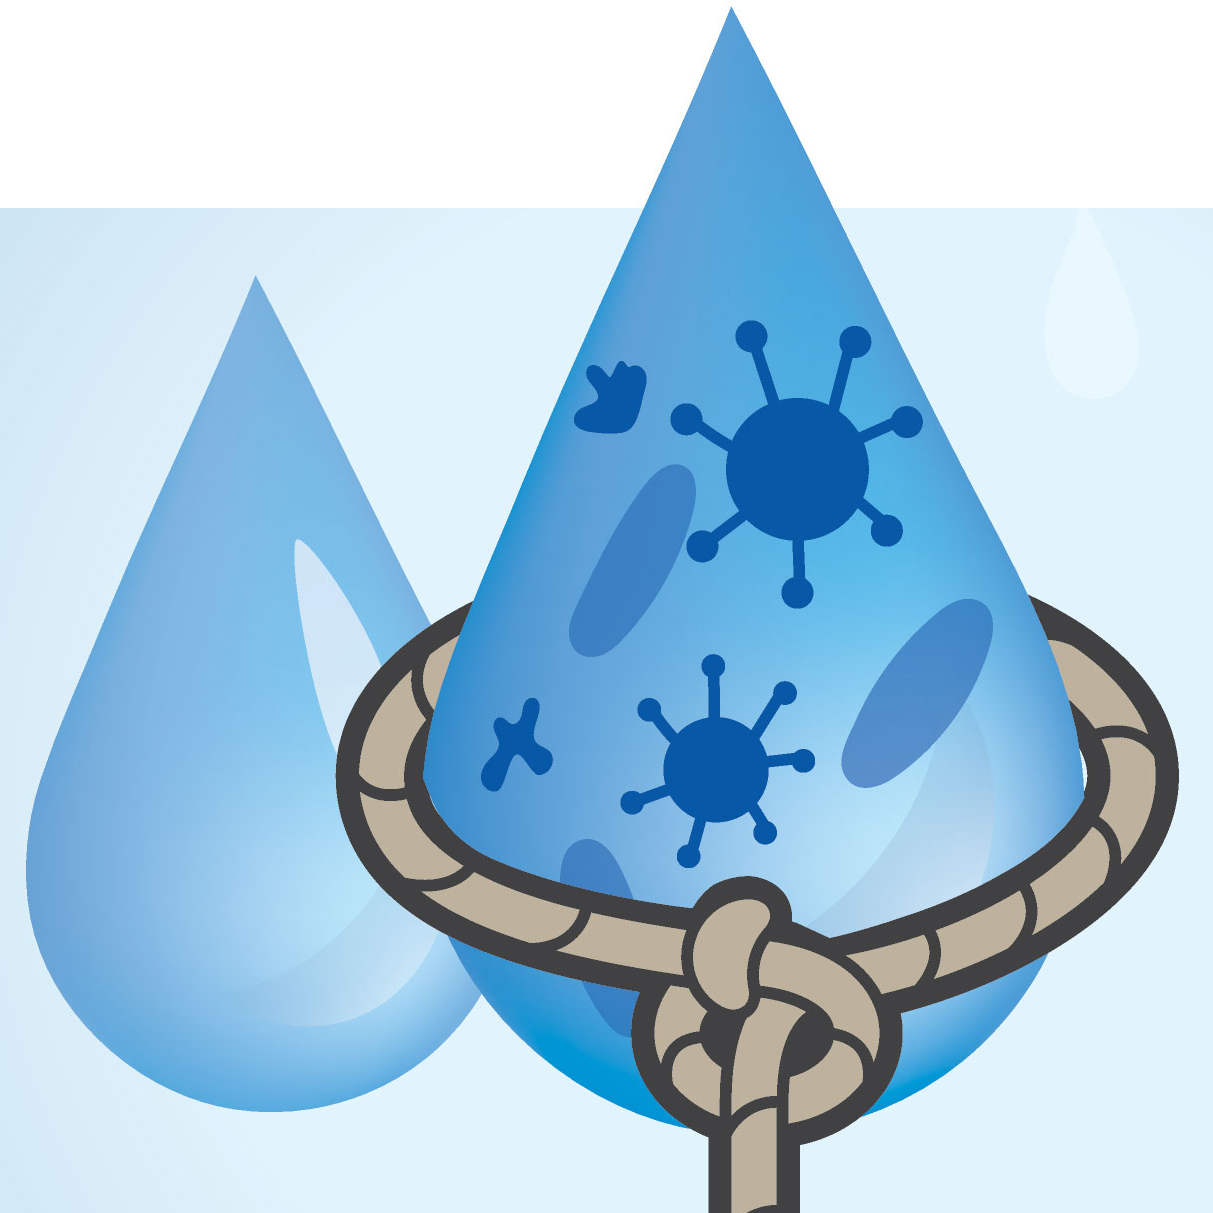
Avidity Science Drinking Valves are made from autoclavable 316 stainless steel and silicone rubber components, materials renowned for their resistance to chlorinated or acidified water found in animal watering systems. We have best practices for the care of our drinking valves which includes information for sanitization, sterilization, and storage of the valves whether they are integral to the cage, removable or integral to the manifold. These guidelines are key to extending the life of your drinking valves.
This is a quick reference guide for valve care. Please see full disclaimers and recommendations in our Sanitizing, Sterilizing and Storage of Rack Manifolds, Drinking Valves and Recoil Hose operational guide (OP-000041). Please contact an Avidity Science representative for more information. These best practices for valves include information for:
 |
 |
 |
||
| SANITIZATION | STERILIZATION | STORAGE | ||
|
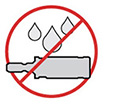
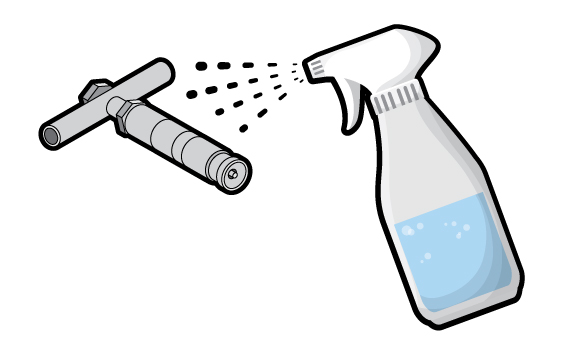
CAUTION: • Avoid chlorine levels higher than 20 ppm and no longer than 30–45 mins of exposure • Acidification levels 5.0 pH or higher must be maintained • If non-chlorine sanitizing process is used acid levels can be no lower than 2.6pH |
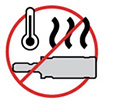
CAUTION: • Do not exceed a sterilization temperature of 149° C (300 ° F) |
General Recommendations: • In an appropriate container • Environmentally-controlled room • Temperature above freezing 0˚C (32˚F). |
By following these general guidelines you will extend the life of your animal drinking valves for years to come. Click on your valve connection type below or download the entire valve care guide here:
| Locking Quick Disconnect (QD) | Easy Connect | Affixed to Manifold | ||
 |
 |
 |
||
|
Locking Quick Disconnect (QD) |
Easy Connect |
Affixed To Manifold |
||
Valve Care Guidelines:
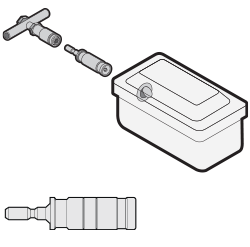
Locking Quick Disconnect (QD)
PLEASE NOTE: Avidity recommends that removable valves are sanitized and sterilized separately from the rack and placed in a valve tray. This will ensure that the valves are properly sanitized/sterilized and reduces the risk of the valves and quick disconnect sockets being damaged. See Avidity Science guide OP-000041 for full details of this process or contact an Avidity Science representative for more information.
 |
 |
 |
 |
| OVEREXPOSURE Overexposure to sanitization agents. Avoid free chlorine levels higher than 20 ppm and no longer than 45 mins of exposure. |
EXCESS HEAT Do not exceed a sterilization temp of 149° C (300 ° F). |
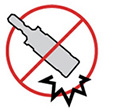
IMPACT DAMAGE Impact damage from being poured out of a collection container in a holding vessel. The impact from falling can force in the valve stem into the body of the valve, damaging the diaphragm. |
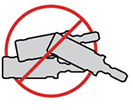
DO NOT LAYER Do not layer or pile the valves on top of each other. Impact of layering can result in the valve stem being damaged and/or pushed through the diaphragm, which will render the valve inoperable. |
Removable drinking valves can be sanitized in a tunnel washer or ultrasonic cleaner. Follow the appropriate instructions based on the cleaning equipment used by the facility.
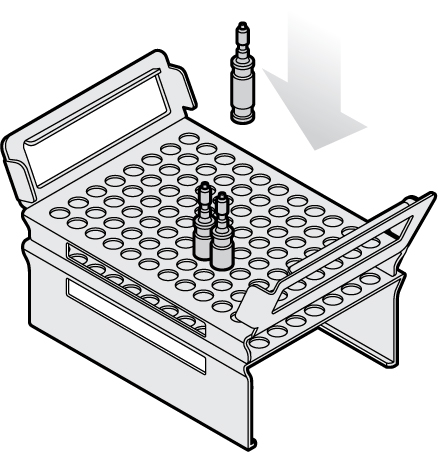 Using the tray ensures proper handling and a thorough cleaning of the valves from the top and bottom of the tray. Also, using the tray reduces the risk of the valves being damaged. Follow this procedure to properly clean removable valves using the Valve Washing Tray:
EQUIPMENT DAMAGE: Do not layer or pile the valves on top of each other. The impact of layering can result in the valve stem being damaged and/or pushed through the diaphragm, which will render the valve inoperable.
|
Tunnel Washer |
Ultrasonic Cleaner 2. Place the valves in a single layer inside the cleaning basket. Do not stack the valves. 3. Fill the ultrasonic cleaner with clean water. 4. De-gas and start the ultrasonic cleaner according to the manufacturer’s instructions. 5. Place the basket into the ultrasonic cleaner and run the unit. During this period only the outside of the valve is cleaned. 6. Remove the basket from the ultrasonic cleaner and rinse the valves completely with clean water. |
Do not use a vacuum cycle deeper than -15 in. Hg when autoclaving drinking valves to prevent damaging of shields, o-rings and diaphragms. After the valves are sanitized, place the valves in the autoclave the same way they were placed in the cage washer.
The following is a list of APPROVED and NOT APPROVED cold sterilants:
Cold Sterilants Approved by Avidity Science |
Cold Sterilants NOT Approved by Avidity Science |
|
|
• Free chlorine solution less than 20 ppm |
• Free chlorine solution greater than 20 ppm • Clidox S |
 |
 |
 |
||||
| In an appropriate container |
Environmentally controlled room |
Temperature above freezing 0˚C (32˚F) |
Please see full disclaimers and recommendations in our Sanitizing, Sterilizing and Storage of Rack Manifolds, Drinking Valves and Recoil Hose operational guide – OP-000041 or contact an Avidity Science representative for more information.
Valve Care Guidelines:
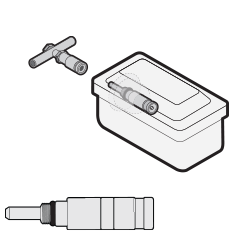
Easy Connect-To-Cage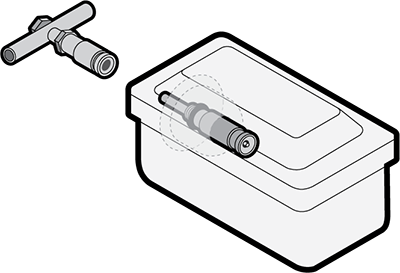
Included are instructions for sanitizing the valves in a tunnel washer, rack washer, or ultrasonic cleaner. Follow the appropriate instructions based on the cleaning equipment used by the facility. Sanitizing and sterilizing of valve and cages should be based on standard operating procedures (SOP).

1. Follow the appropriate instructions based on the cleaning equipment used by the facility.
2. A chemical sanitizing process may be used or a combination of high-temperature rinse with a chemically-treated solution.
* Chlorine sanitizing solution must be changed weekly. Chlorine dissipates relatively quickly. Solutions older than one week will not effectively sanitize.
After sanitizing the valves, follow these recommended autoclave cycles.
The following is a list of APPROVED and NOT APPROVED cold sterilants:
Cold Sterilants Approved by Avidity Science |
Cold Sterilants NOT Approved by Avidity Science |
|
|
• Free chlorine solution less than 20 ppm |
• Free chlorine solution greater than 20 ppm • Clidox S |
In an appropriate container
Use storage recommendations from cage manufacturer.
Please see full disclaimers and recommendations in our Sanitizing, Sterilizing and Storage of Rack Manifolds, Drinking Valves and Recoil Hose operational guide – OP-000041 or contact an Avidity Science representative for more information.
Valve Care Guidelines:
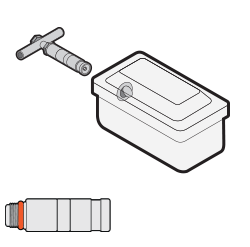
Affixed-To-Manifold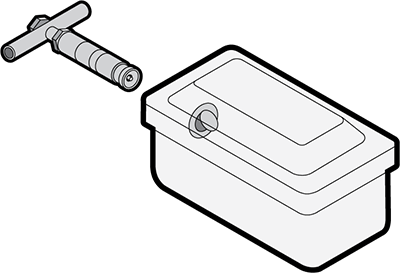
Included are instructions for sanitizing the valves in a tunnel washer or ultrasonic cleaner. Follow the appropriate instructions based on the cleaning equipment used by the facility. See Avidity Science guide OP-000041 for full details of this process or contact an Avidity Science representative for more information.
Clean the manifold/integral valves according to the facility’s standard operating procedures for rack cleaning.
EQUIPMENT DAMAGE: All manifold drain and vent valves must be opened before cleaning. In the event water is retained in a manifold, and the drain and vent valves are closed during the cleaning and/or autoclaving procedures, steam can be generated which creates pressure that may damage the manifold and/or drinking valve components.
Do not use a vacuum cycle deeper than -15 in. Hg when autoclaving drinking valves to prevent deforming of o-rings and diaphragms.
EQUIPMENT DAMAGE: All manifold drain and vent valves must be opened before autoclaving. In the event water is retained in a manifold, and the drain and vent valves are closed during the cleaning and/or autoclaving procedures, steam can be generated which creates pressure that may damage the manifold and/or drinking valve components.
IMPORTANT: Consult the rack manufacturer's autoclaving specific cations to determine that all rack components can be autoclaved at the cycles specified below. Do not autoclave any rack components that cannot tolerate these autoclave cycles.
Sterilize the outside surface of the valves on the manifold following the manufacturer’s instructions
Cleaning of the Valve:
EQUIPMENT DAMAGE: The free chlorination level in the cleaning or sanitizing solution cannot exceed 20 ppm for valve exposure greater than 45 minutes. Exposure longer than 45 minutes to a solution with a free chlorine concentration greater than 20 ppm can damage the drinking valves.
EQUIPMENT DAMAGE: For continuous free chlorine use, do not expose manifold and valves to a free chlorine concentration greater than 10 ppm. Continuous exposure to a water solution with a free chlorine concentration greater than 10 ppm can damage the manifold and drinking valves.
Do not use a vacuum cycle deeper than -15 in. Hg when autoclaving drinking valves to prevent damaging of shields, o-rings and diaphragms. After the valves are sterilized, place the valves in the autoclave the same way they were placed in the cage washer.
Drinking valves can be removed from service and sterilized using an autoclave. Autoclaving procedures will vary depending on facility protocols and autoclaving equipment. Follow the autoclave manufacture instructions and heed the cautions they state. General autoclaving cycle recommendation for valves are below.
The following is a list of APPROVED and NOT APPROVED cold sterilants:
Cold Sterilants Approved by Avidity Science |
Cold Sterilants NOT Approved by Avidity Science |
|
|
• Free chlorine solution less than 20 ppm |
• Free chlorine solution greater than 20 ppm • Clidox S |
|
|
|
||||
| In an appropriate container |
Environmentally controlled room |
Temperature above freezing 0˚C (32˚F) |
Please see full disclaimers and recommendations in our Sanitizing, Sterilizing and Storage of Rack Manifolds, Drinking Valves and Recoil Hose operational guide – OP-000041 or contact an Avidity Science representative for more information.


 United Kingdom